|
|
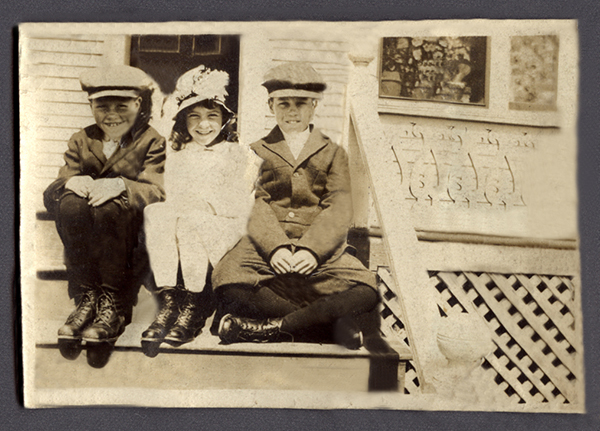
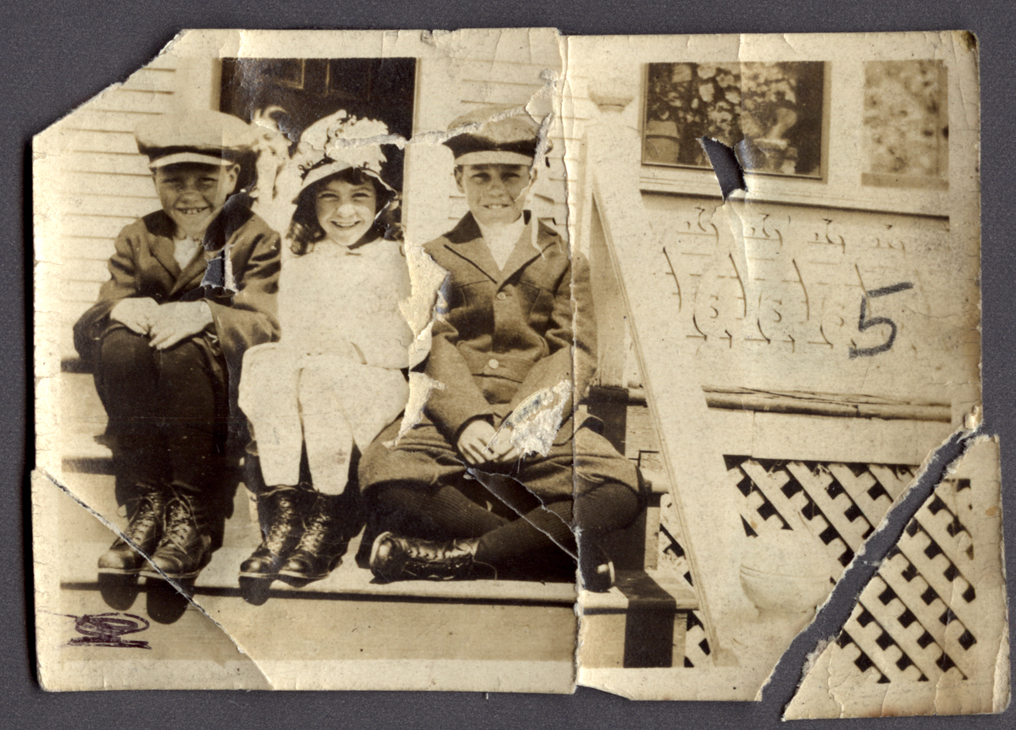
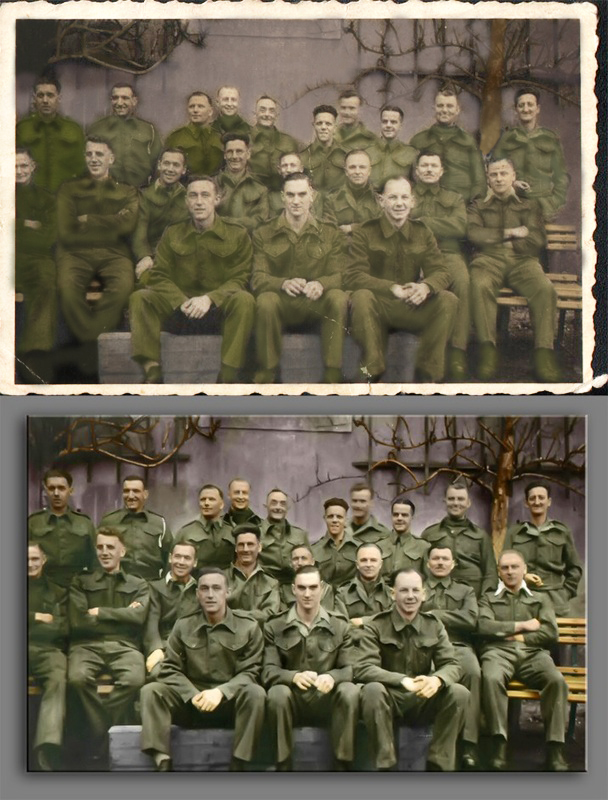
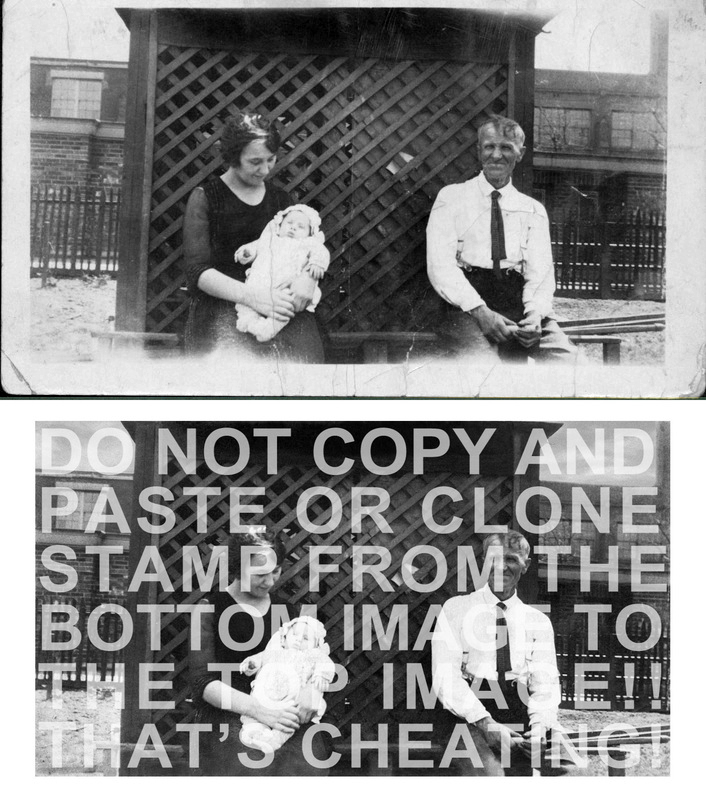
For this project, we had to restore the old photo to the right using photoshop tools such as cloning a specific area of the picture and placing it somewhere else to fill in missing places. On the left is my restored and finished picture.

|

|
For this project, we had to restore the baseball card on the right using photoshop to make the writing look like it is part of the card and fixing the circle on the bottom right. My finished project is on the left.
|
|
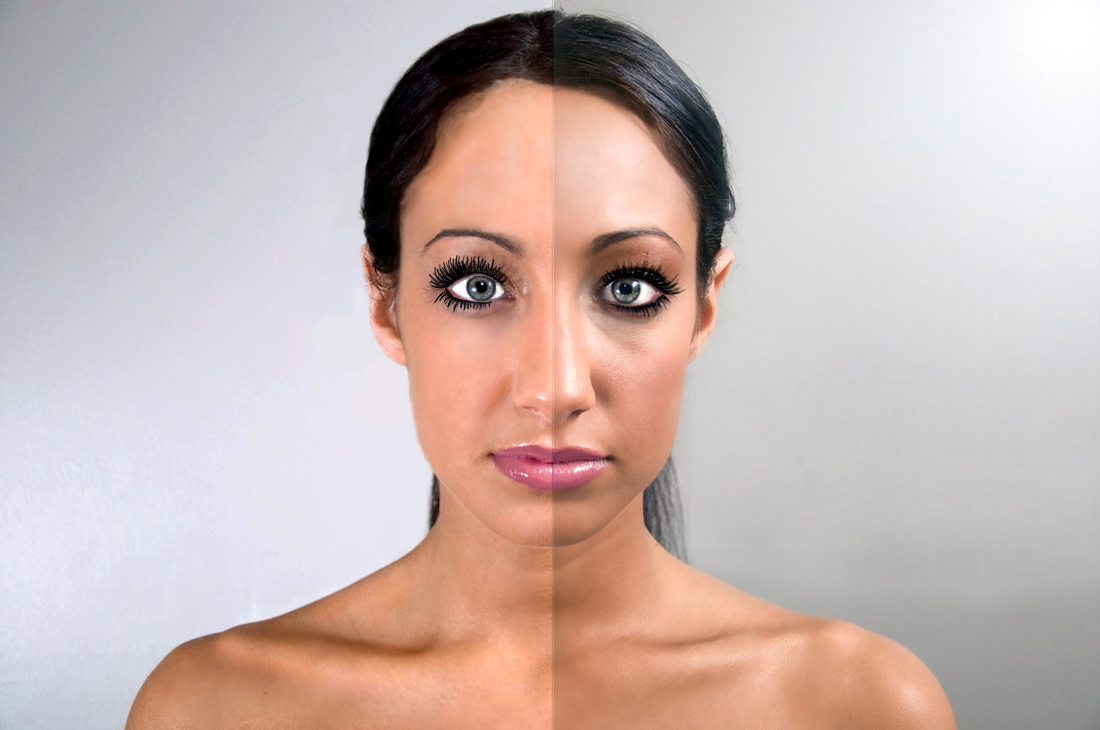
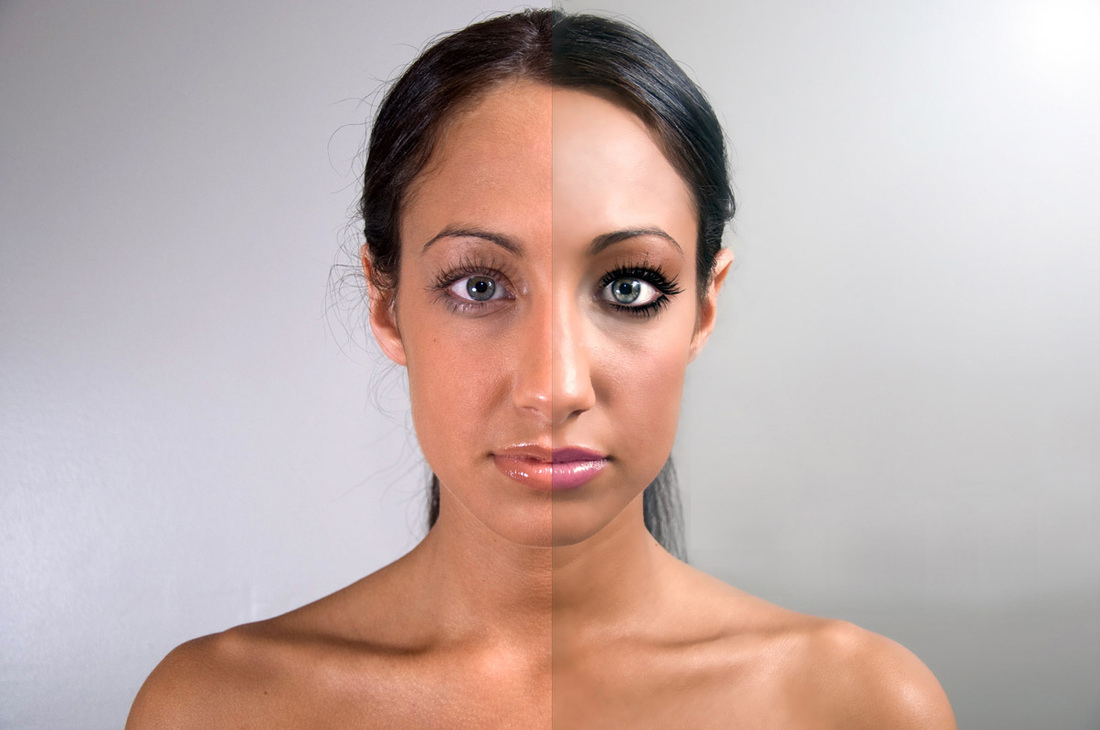
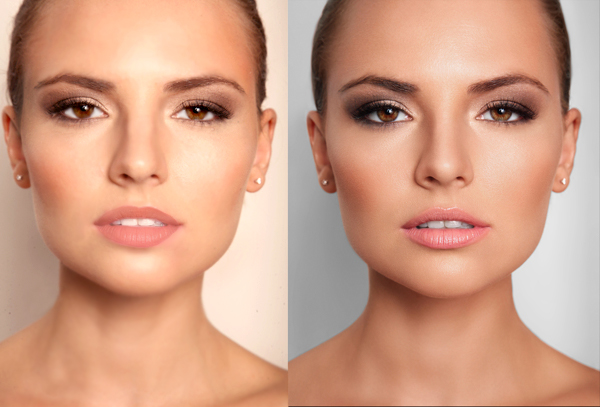
For this project, we had to take the picture on the right, and edit and add makeup on the left side using photoshop to match the right side of the face. We used tools like the dodge and burn tools to add and take away color, and the paintbrush tool to add the eyelashes. The left side of the picture on the left is my finished project.
|
|
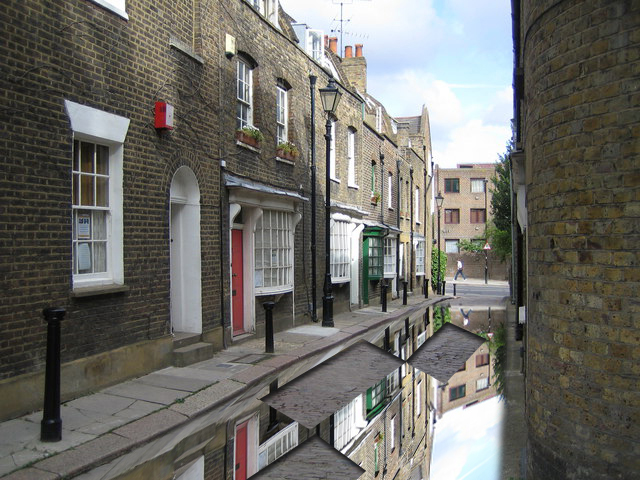
For this project, we used the picture on the right and made it look like the street was a mirror image of the buildings with pieces missing from the reflections. To do this, we took the part of the picture we wanted to reflect and rotated it onto the street, then we skewed the image to match up to the side walk. Then, we made a grid and took a few of the blocks out and removed the grid. The left picture is the finished project.
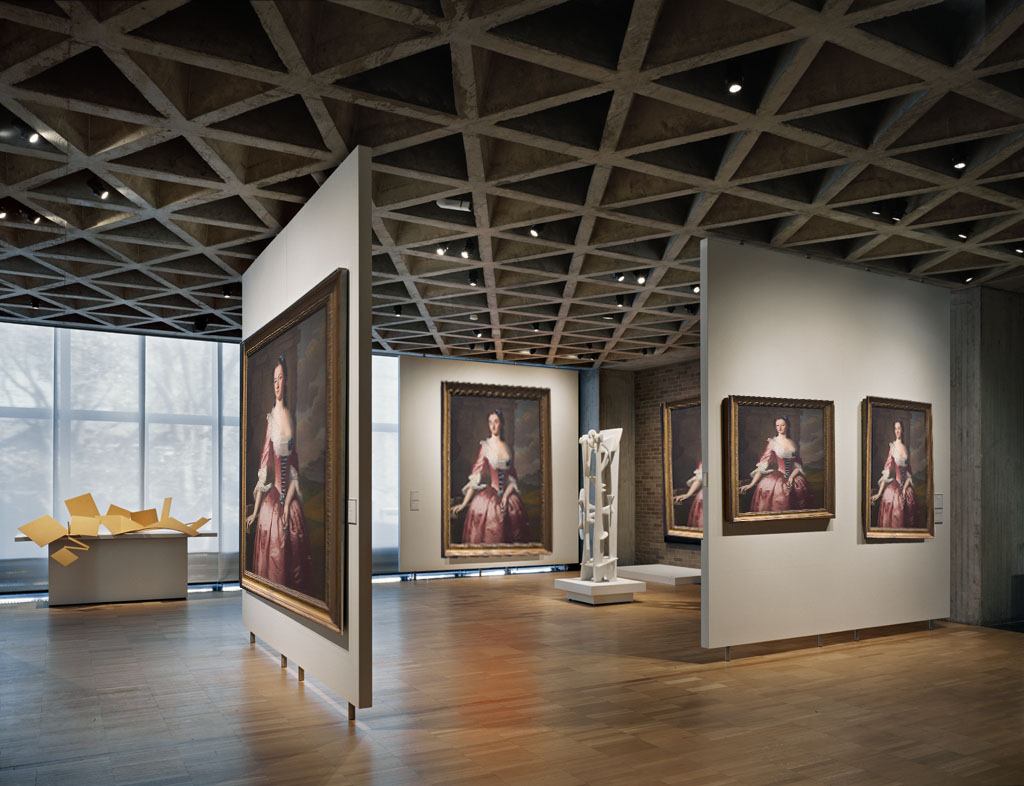
For this project, we made the picture of the girl fit into the picture frames in the gallery. To do this we had to distort the one picture of the girl to fit the five picture frames already in the art gallery.
|
|
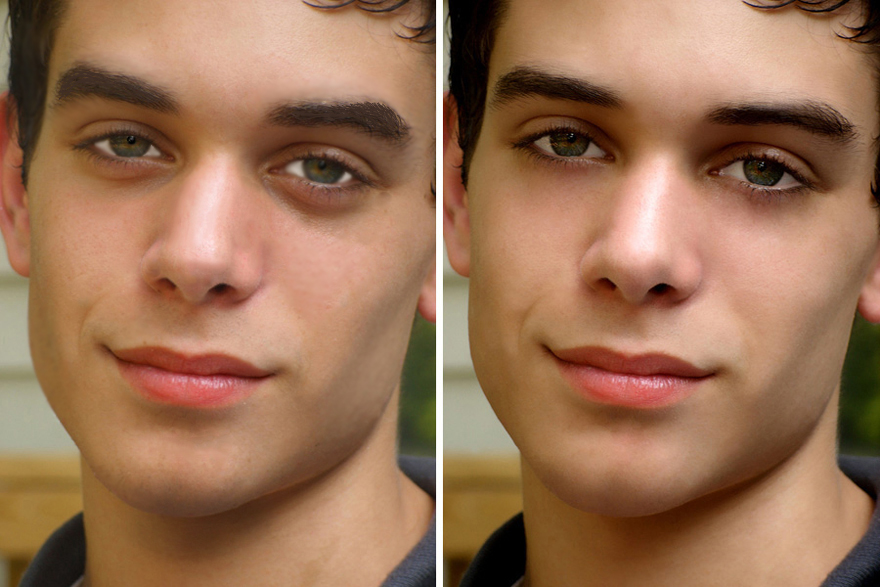
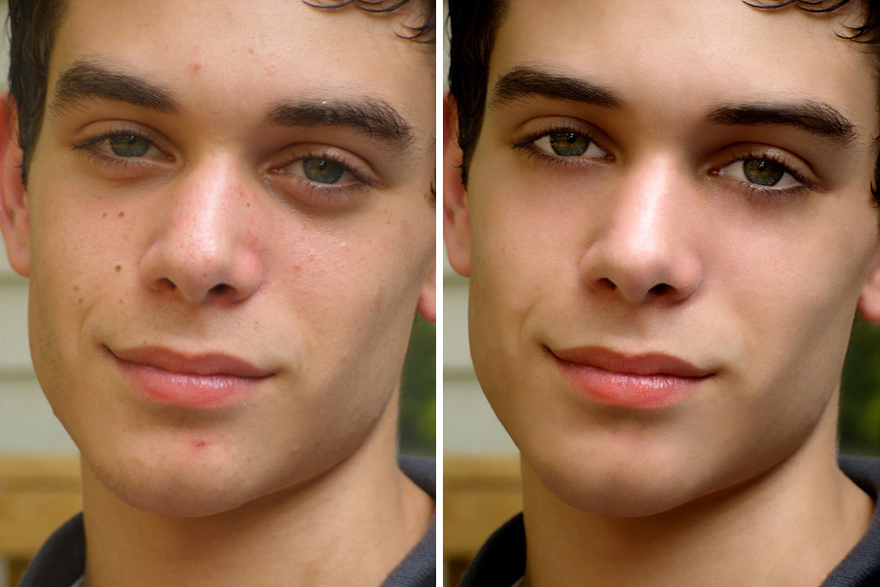
For this project, we started with the picture on the left side of the left picture and tried to make it look like the right side. To do this, we used the same tools as the picture of the girl with half of her face photoshopped and also tools like the spot healing tool and the blur tool to get rid of the acne and marks on his face. The left side of the right picture is the finished project.
|
|
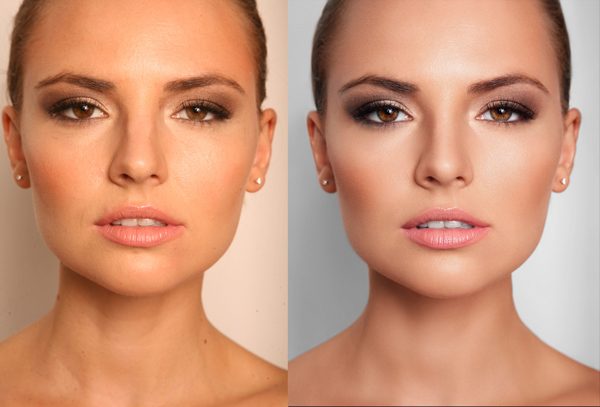
For this project, we started with the picture on the left side of the right picture, and, using the burn, dodge, and blur tools, tried to make it look like the right side. We used the same tools as well from the other two face pictures. My finished project is on the left side of the left picture.
|
|
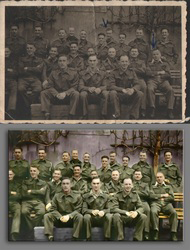
For this project, we had to use the top half of the right picture, and by painting over the black and white version of the image, paint over with the colors in a new layer to try to make it look like the bottom half. The top half of the picture on the right is my finished project.
|

|
For this project, we had to use the picture on the right and make it black and white and make the darkness and brightness to make it look like the the picture below it.
